
Export
Render all of your settings into a new video file and save it to your device's gallery.
How to start
Tap the export icon in the top-right corner of the edit screen. This opens the Export screen.
Export summary
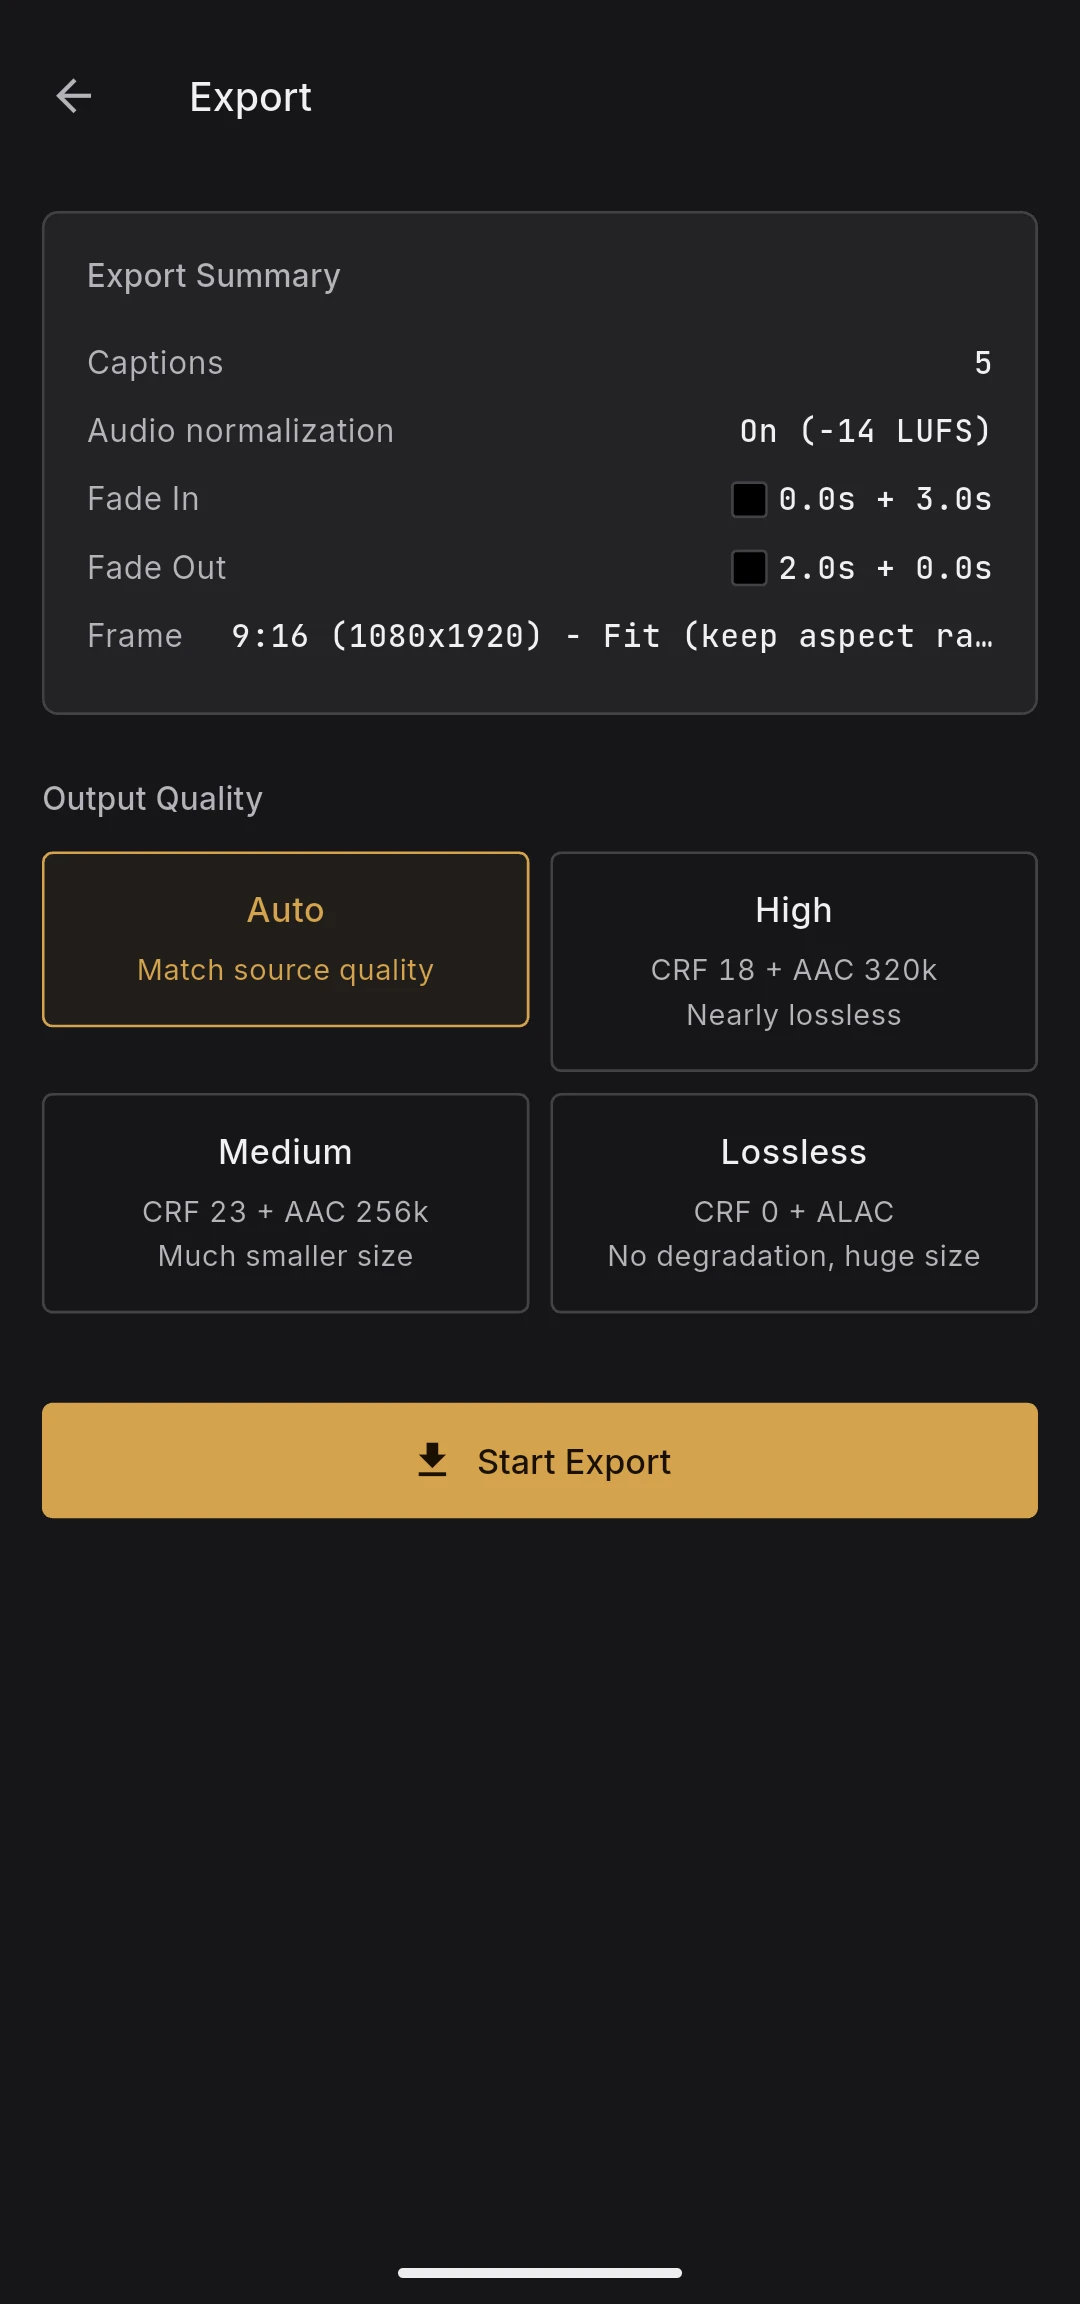
At the top of the Export screen you see a summary of everything that will be applied:
- Number of captions
- Audio normalization state (on / off, target LUFS)
- Fade in length (solid color + fade) and color
- Fade out length (fade + solid color) and color
- Frame settings (aspect ratio mode, output resolution, fill mode, and per-side padding)
Review this panel before starting — it is exactly what will end up in the output.
Output quality
Choose how aggressively the encoder compresses the output.
- Auto — match the source quality; recommended for most uploads
- High — higher bitrate, larger file, visibly cleaner on complex footage
- Medium — lower bitrate, smaller file, suitable for quick previews
- Lossless — maximum quality, very large file, useful when the output will be re-encoded elsewhere
The setting is disabled while an export is in progress.
How Auto actually behaves
Auto changes its strategy depending on whether any effects are applied.
- No effects applied: the video stream is copied as-is. Quality and file size stay essentially identical to the source, and the export is much faster because no re-encoding happens
- Captions, fades, or any frame change applied: re-encoding is required. HEVC (H.265) input is re-encoded as HEVC; everything else (typically H.264) is re-encoded as H.264
- High / Medium / Lossless always re-encode to H.264 regardless of the source codec
Not every device supports HEVC hardware encoding. If an HEVC export fails, BareVid automatically retries the same export as H.264, so you may occasionally see the progress bar restart from 0 % (this is the H.264 fallback).
During export
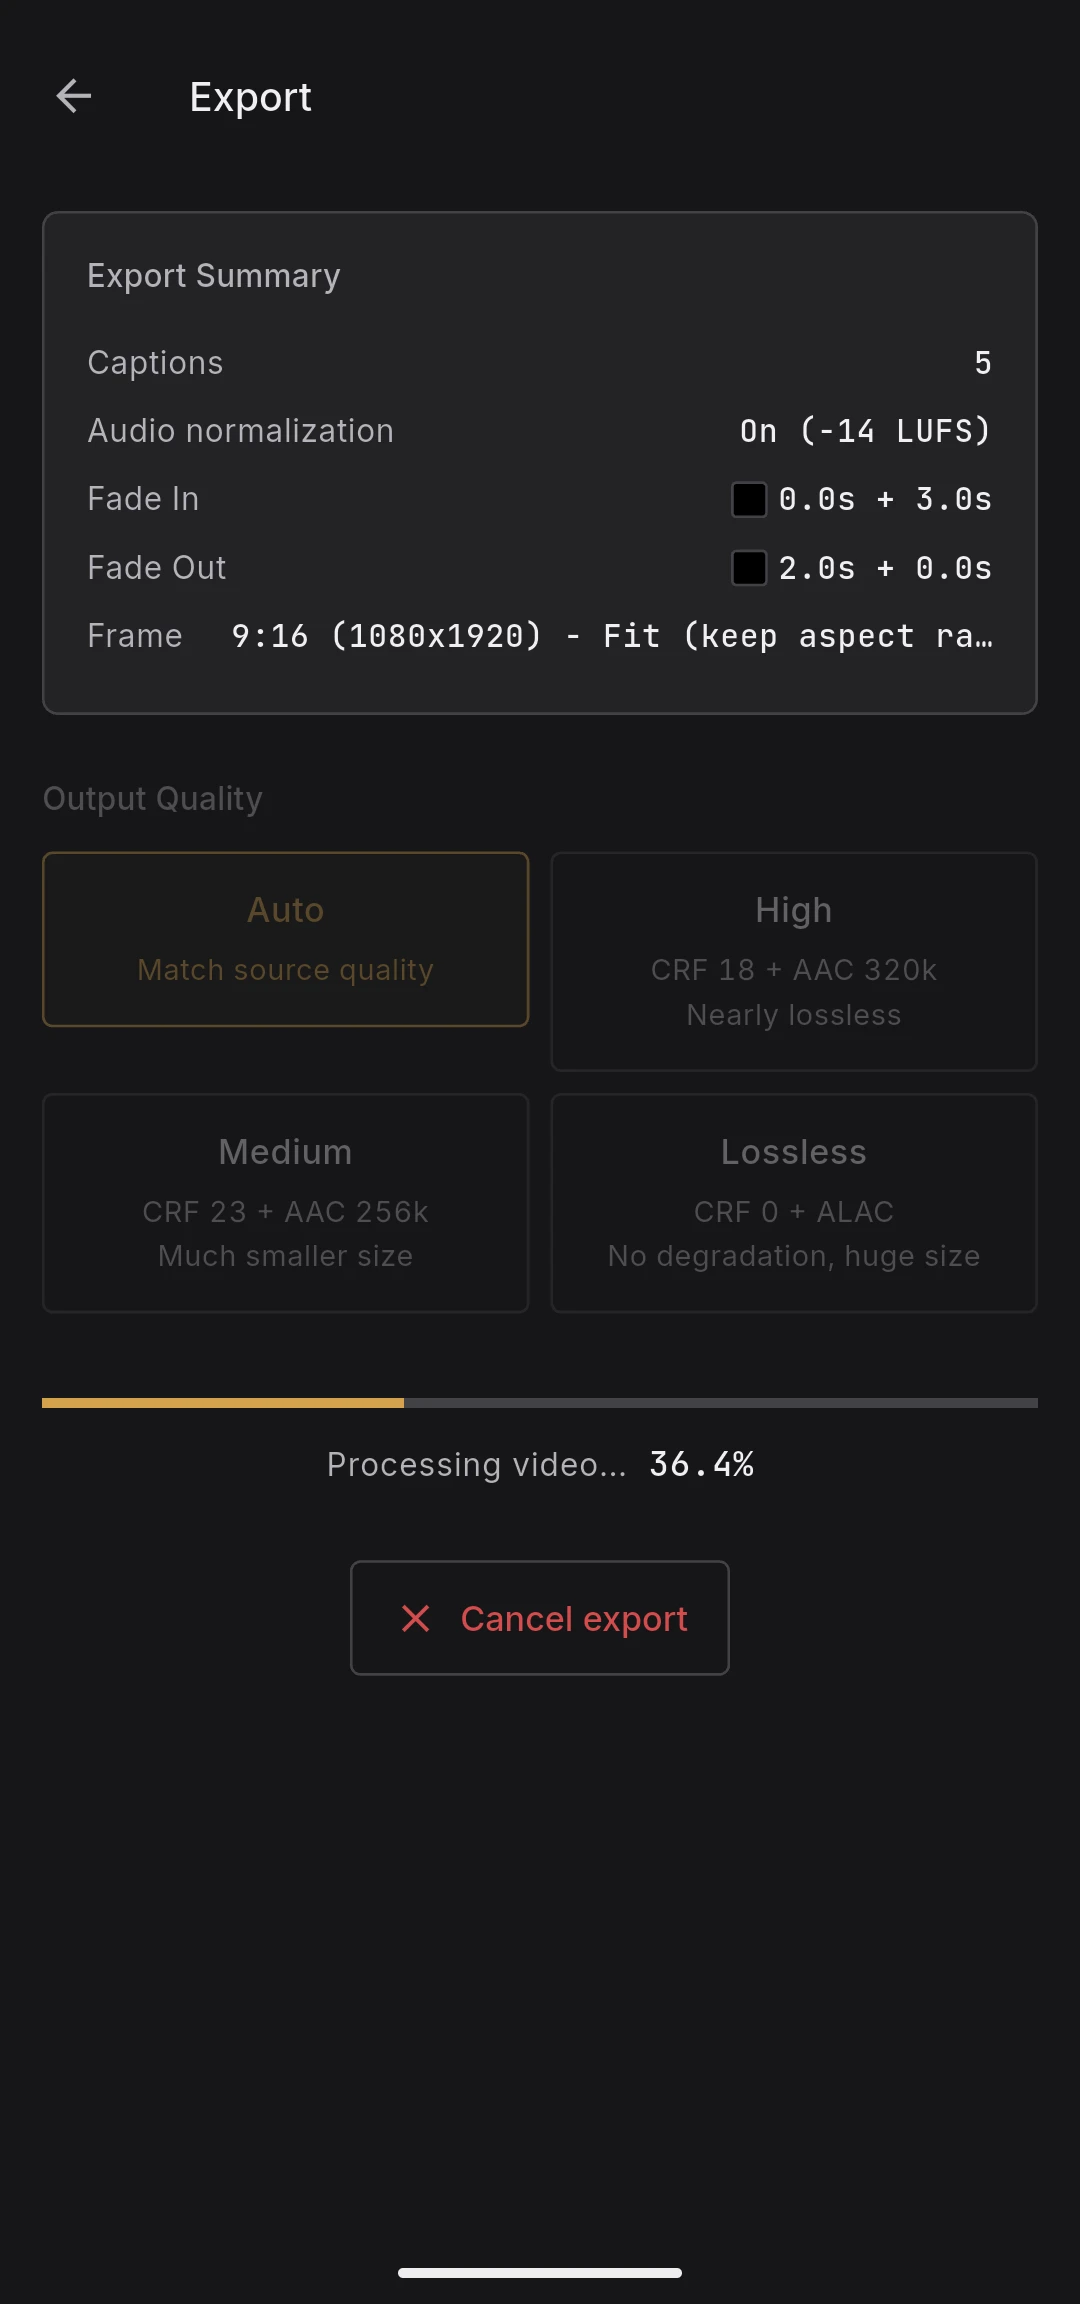
- A linear progress bar shows overall progress
- The status label below switches between Preparing, Processing video, and Saving as the pipeline advances
- The percentage is shown as a monospaced number so it stays readable while updating
- The screen is kept on automatically until the export finishes, so an idle device will not auto-lock and pause the encode
Exports can take a while on longer videos because BareVid runs FFmpeg on the device. Keep the app in the foreground — switching apps or closing BareVid can pause or stop the export, and there is no resume mechanism.
Cancelling an export
Tapping the back arrow in the top-left corner during an export brings up a confirmation dialog. Choose Cancel export to stop FFmpeg immediately and return to the edit screen — the partial output is discarded and nothing is saved to your gallery. Choose Continue to dismiss the dialog and let the export run to completion.
Once the export has finished (or failed), the back arrow returns to the edit screen normally with no confirmation.
If the export is interrupted
If you swipe BareVid away or the OS kills the app partway through an export, that run is lost — the partial output is never saved to your gallery and you'll need to start the export again from scratch. Leftover incomplete files in the app's temporary storage are cleaned up automatically the next time BareVid launches, so they do not pile up over time.
Encoding details
- Video encodes run through the OS-provided hardware encoder APIs
- H.264:
h264_mediacodecon Android,h264_videotoolboxon iOS - HEVC:
hevc_mediacodecon Android,hevc_videotoolboxon iOS
- H.264:
- Captions burned in via ASS subtitles
- Fades applied via the FFmpeg
fadeandafadefilters - Audio normalization via a two-pass loudnorm with automatic fallback (see Audio Tab)
BareVid ships no encoder of its own — every video encode is performed through the platform's hardware encoder API (Android MediaCodec / iOS VideoToolbox). This gives us two things at once:
- Licensing: FFmpeg is an LGPL build with no GPL codecs (
libx264,libx265). HEVC patent licensing for these APIs is handled by the device manufacturer at the OS level - Performance: hardware encoding is significantly faster than software encoding on mobile devices
After export
The result panel stays visible so you can compare runs.
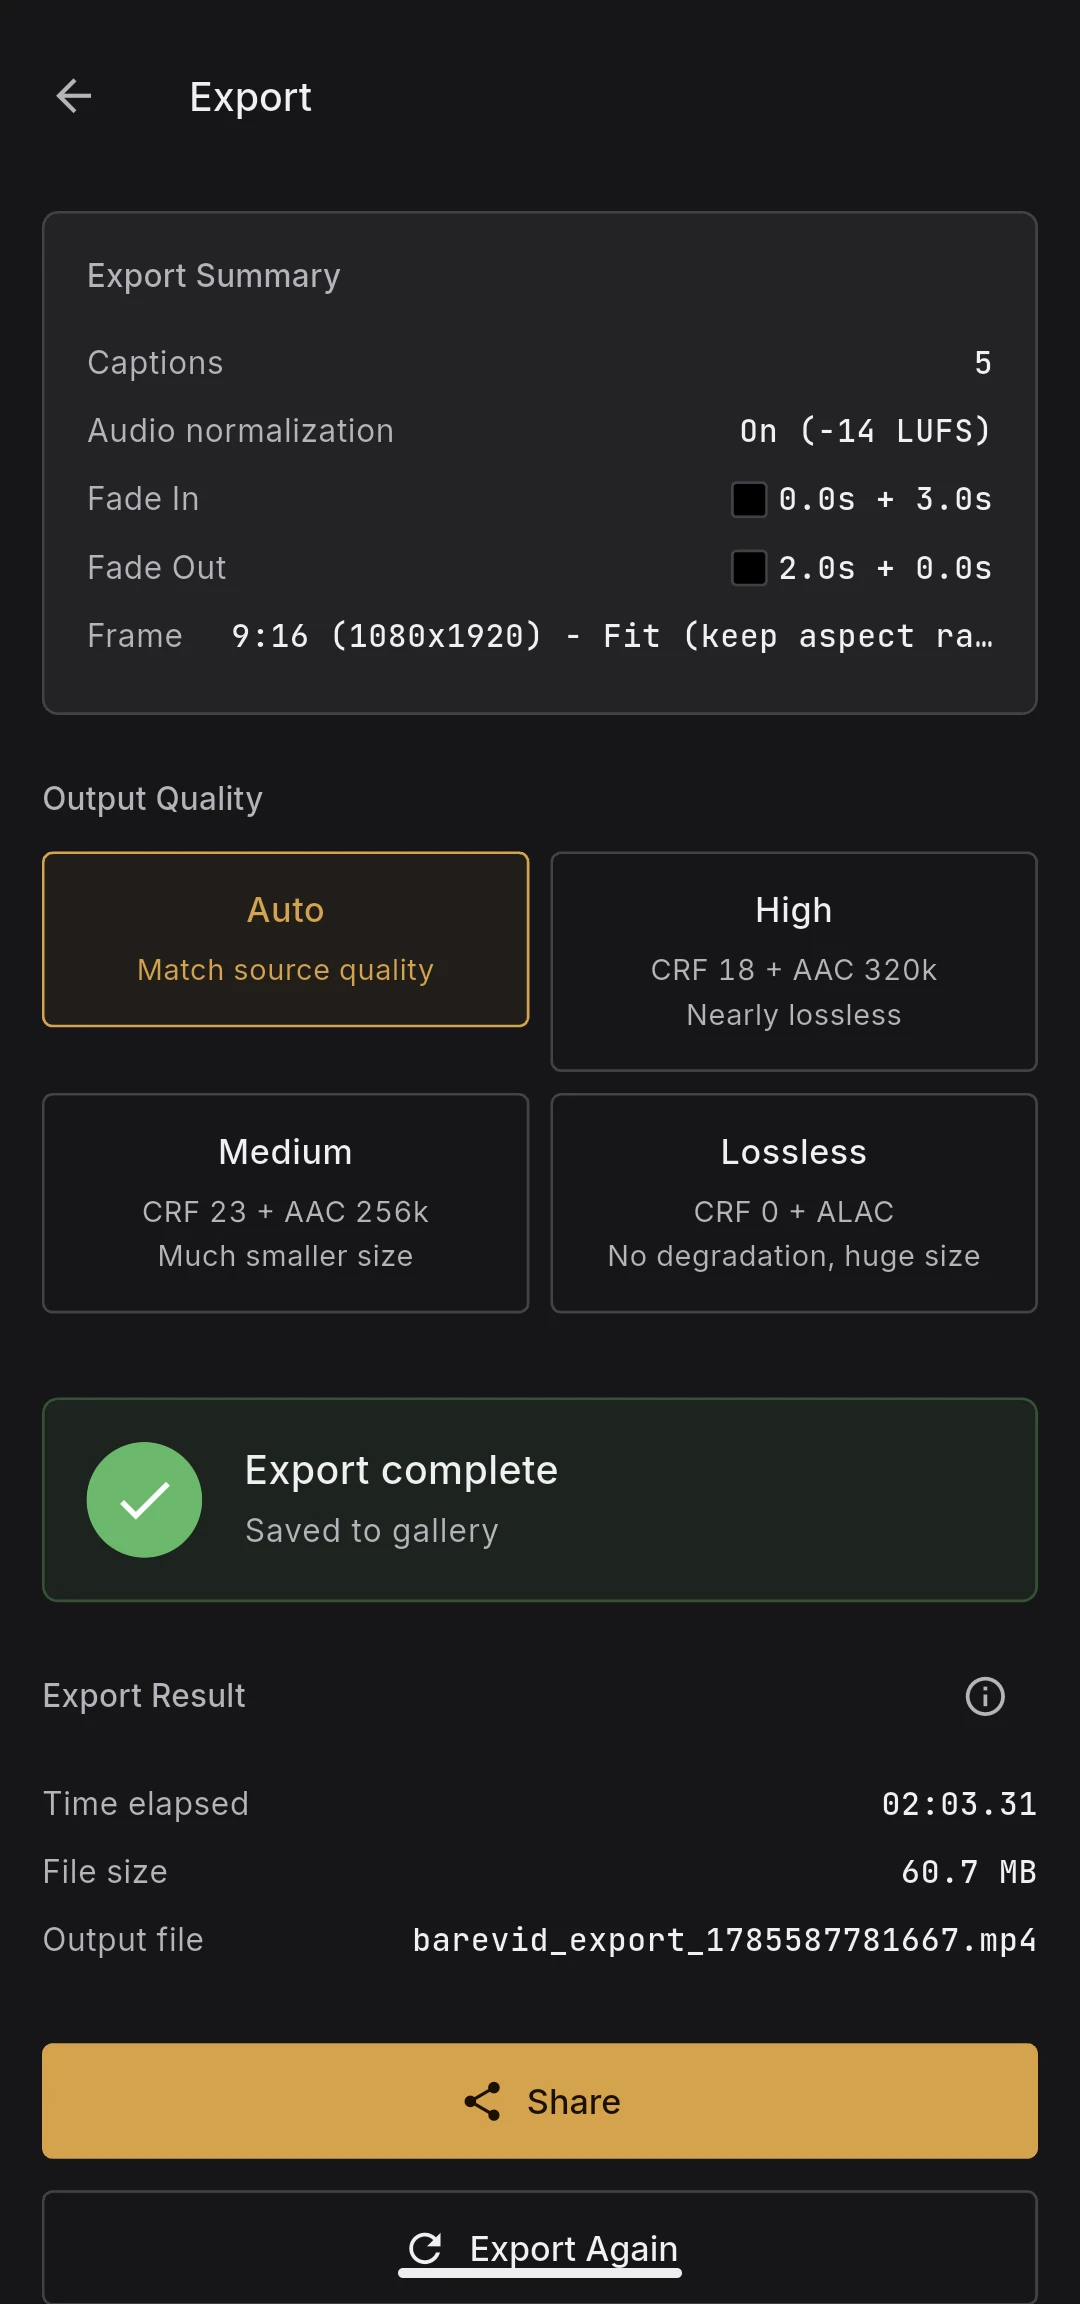
- Elapsed time — wall-clock duration of the export
- File size — size of the generated file
- Output file name — the file saved to your gallery under the
BareVidalbum
The file is saved automatically to your device gallery when encoding finishes, and a snackbar confirms the save. Tap Export again to re-run with different settings without leaving the screen.
Diagnostics
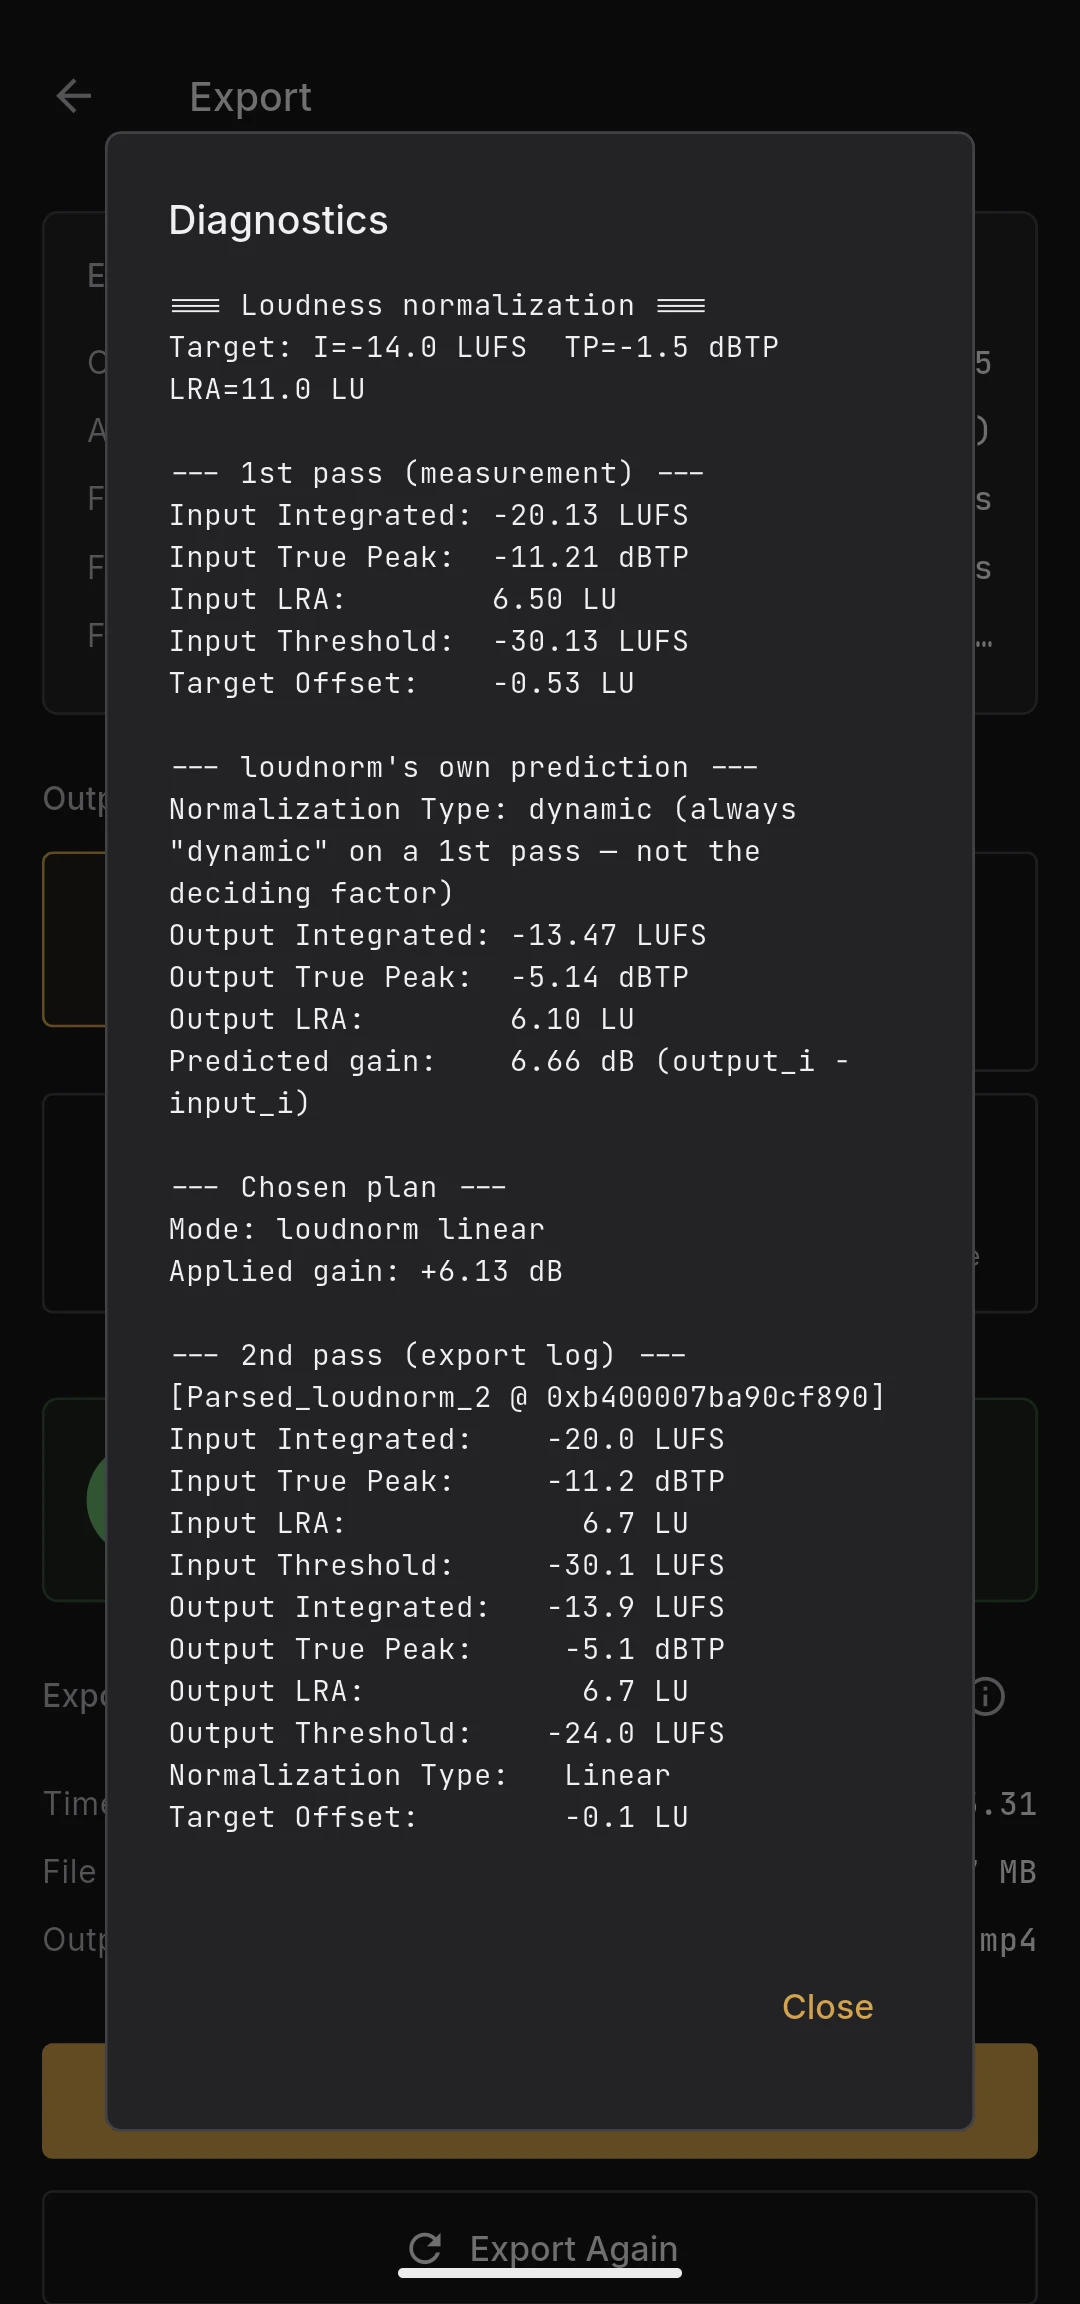
If audio normalization ran, an ℹ button appears next to the result header. It opens the diagnostics dialog with:
- First-pass loudnorm measurements (input integrated, true peak, LRA, threshold, target offset)
- Predicted normalization type and predicted output values
- Selected plan (mode, applied gain, estimated output, fallback reason if any)
- Excerpts from the FFmpeg log for the second pass
This is useful when the result sounds unexpected — you can see exactly which mode was chosen and why.
If export fails
Failed exports show an error panel with the FFmpeg message and a Retry button. The original source file is never modified, so you can safely retry or adjust settings and start over.